Post 3: Getting it made
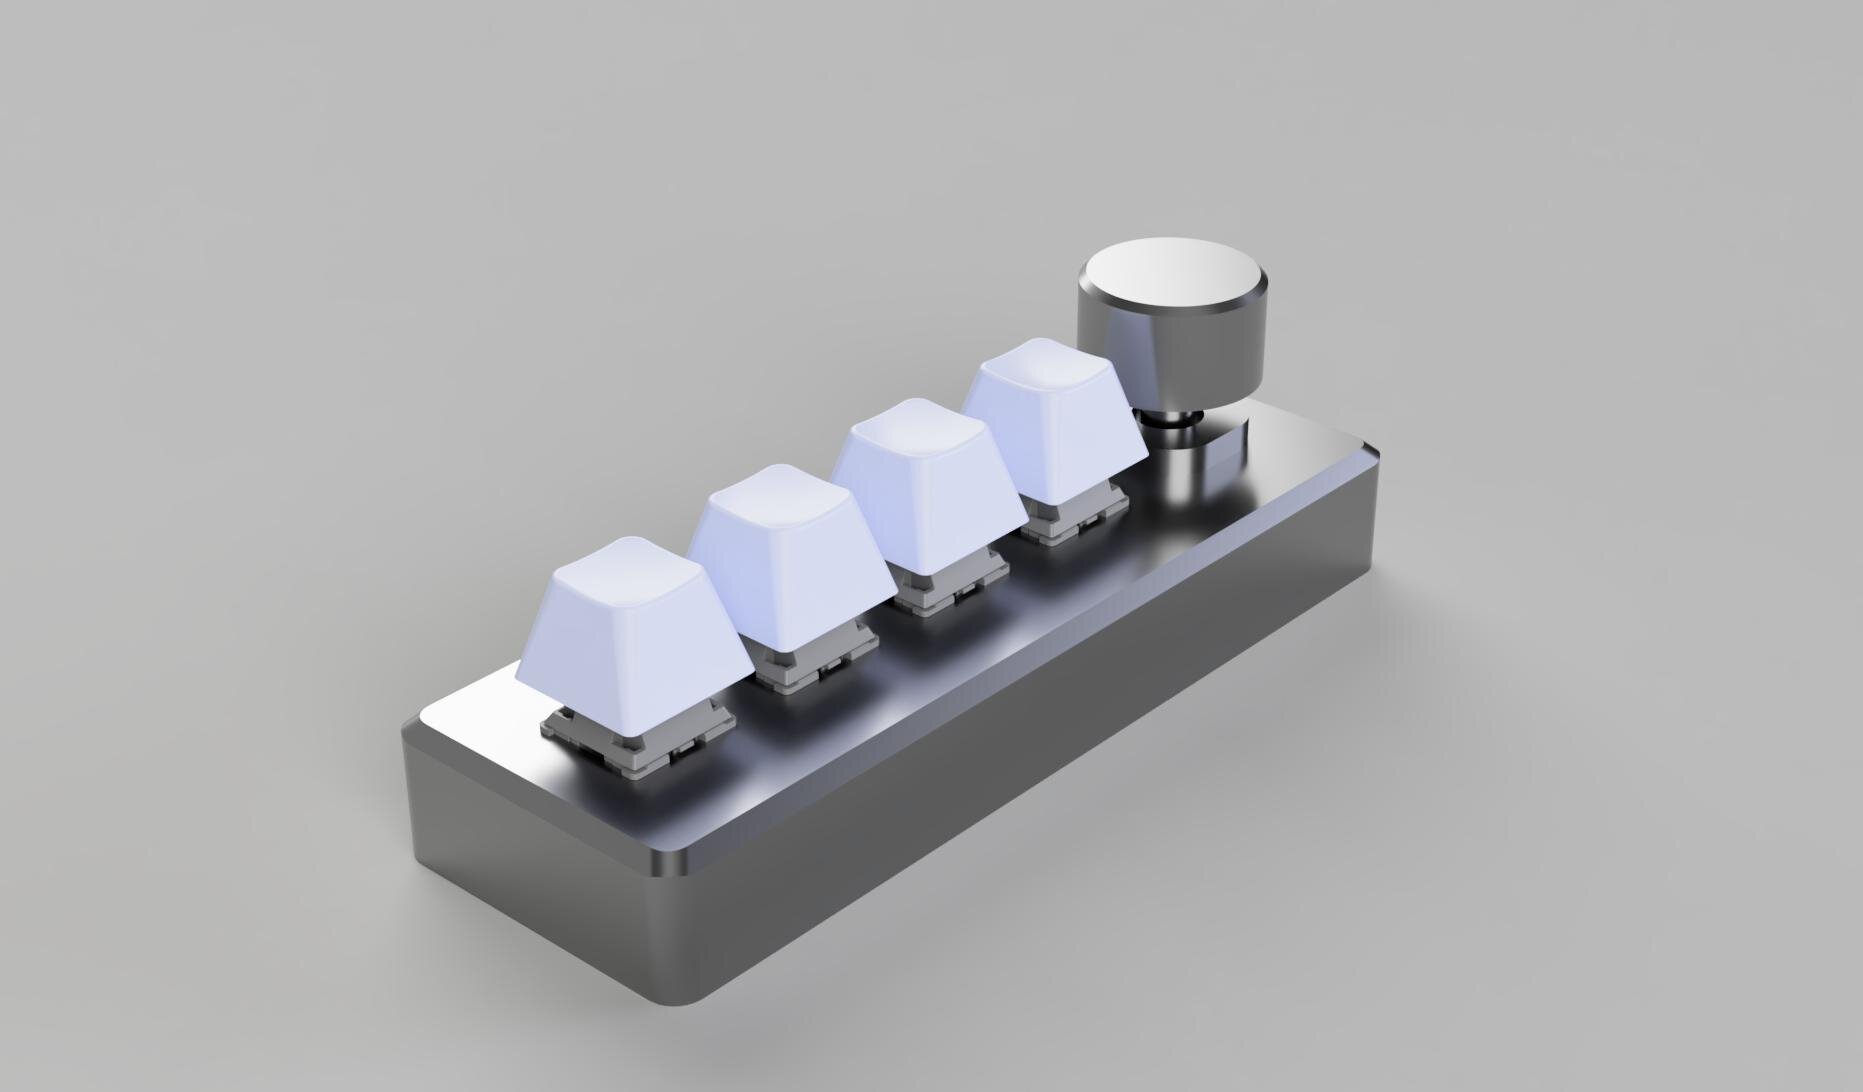
Even before sending parts out for quote, it was very clear that 1) we wanted the enclosure to be a solid aluminum housing and 2) it would be the most expensive single part of the whole thing. A lot of work was done to optimize the design to minimize machining operations and machining time. One of the difficulties that we ran into was the geometry required to mount the mechanical switches.

Post 2: To the drawing board
From this time period, my notepad is filled with sketches of various shapes, form factors, and sizes that the macropad could take. We eventually settled on a few basics constraints that would guide the design:
Introduction to Mechanical Switches
I think it’s fair to say that many users love the feeling of mechanical switches. They’re precise, tactile, audible, and just plain more satisfying to type with….

